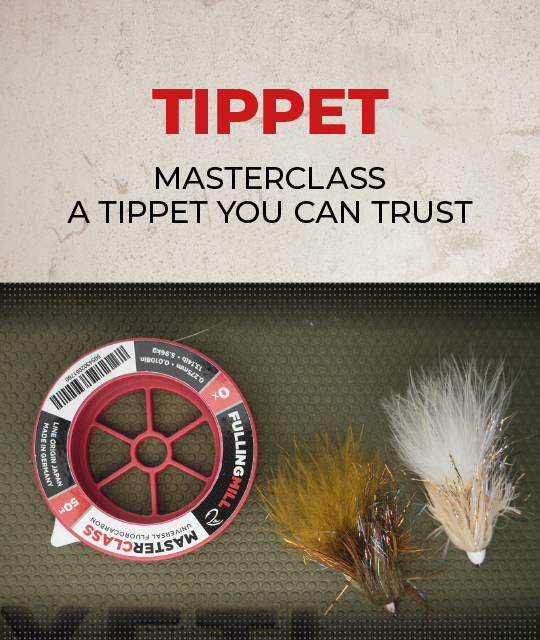
The water knot or surgeons knot is a must-know knot for any fly fisherman. We think it’s the best knot to attach a dropper to your leader which allows you to use multiple flies on a cast. It’s also a great way to join the same or two different breaking strains tippets together, ideal for creating your own tapered leaders!
Water Knot Step By Step

- Take your leader material and cut off a piece around 10″ in length. This will be the piece the dropper is created from.

- Place the dropper piece alongside overlapping your main leader exactly where you want the dropper to be. With the two lengths of leader, form a loop.

- Pass the loose end of both the leaders through the loop three times to create a 3 turn water knot.

- Moisten and draw the knot tight. Cut the tag end (usually the section facing back towards the fly line) off close to the knot. Use the longer piece that is left (facing down to the point fly) for your dropper.
- *If joining two leaders together, cut the two tag ends off for a neat knot.
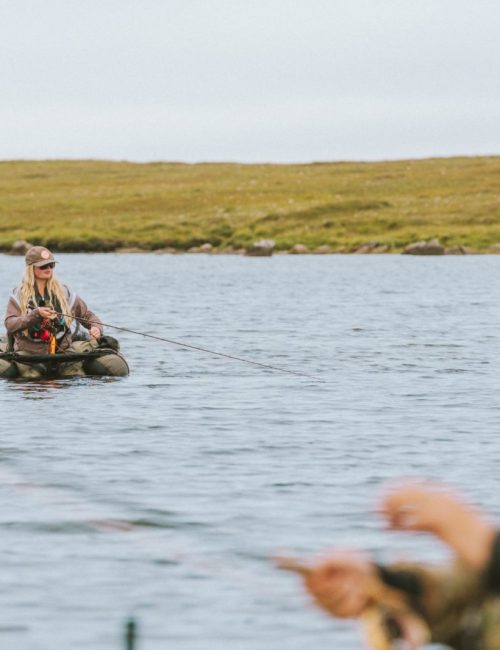
For the lake angler; using multiple flies on a cast for methods such as buzzer fishing, the washing line, and fishing boobies can give you a greater advantage. The extra flies can add weight to drag your cast down through the water column, or simply give you more chance of putting your flies in front of a fish.
For the river angler; the water knot is a great all-round knot, enabling you to taper down a leader with different breaking strains, or even add in a piece of coloured monofilament to create a euro-nymphing set-up. You can also attach a dry fly to a short dropper knot, attach a nymph a couple of feet below on the point to create the Duo set-up.
How many turns should I do for a dropper knot?
- Tippet sizes below 5lb: 4 turn water knot
- Tippet sizes between 5-10lb: 3 turn water knot
- Tippet sizes above 10lb: 2 turn water knot
See here for more fly fishing knot tutorials or check out our YouTube Channel for other instructional videos.


)