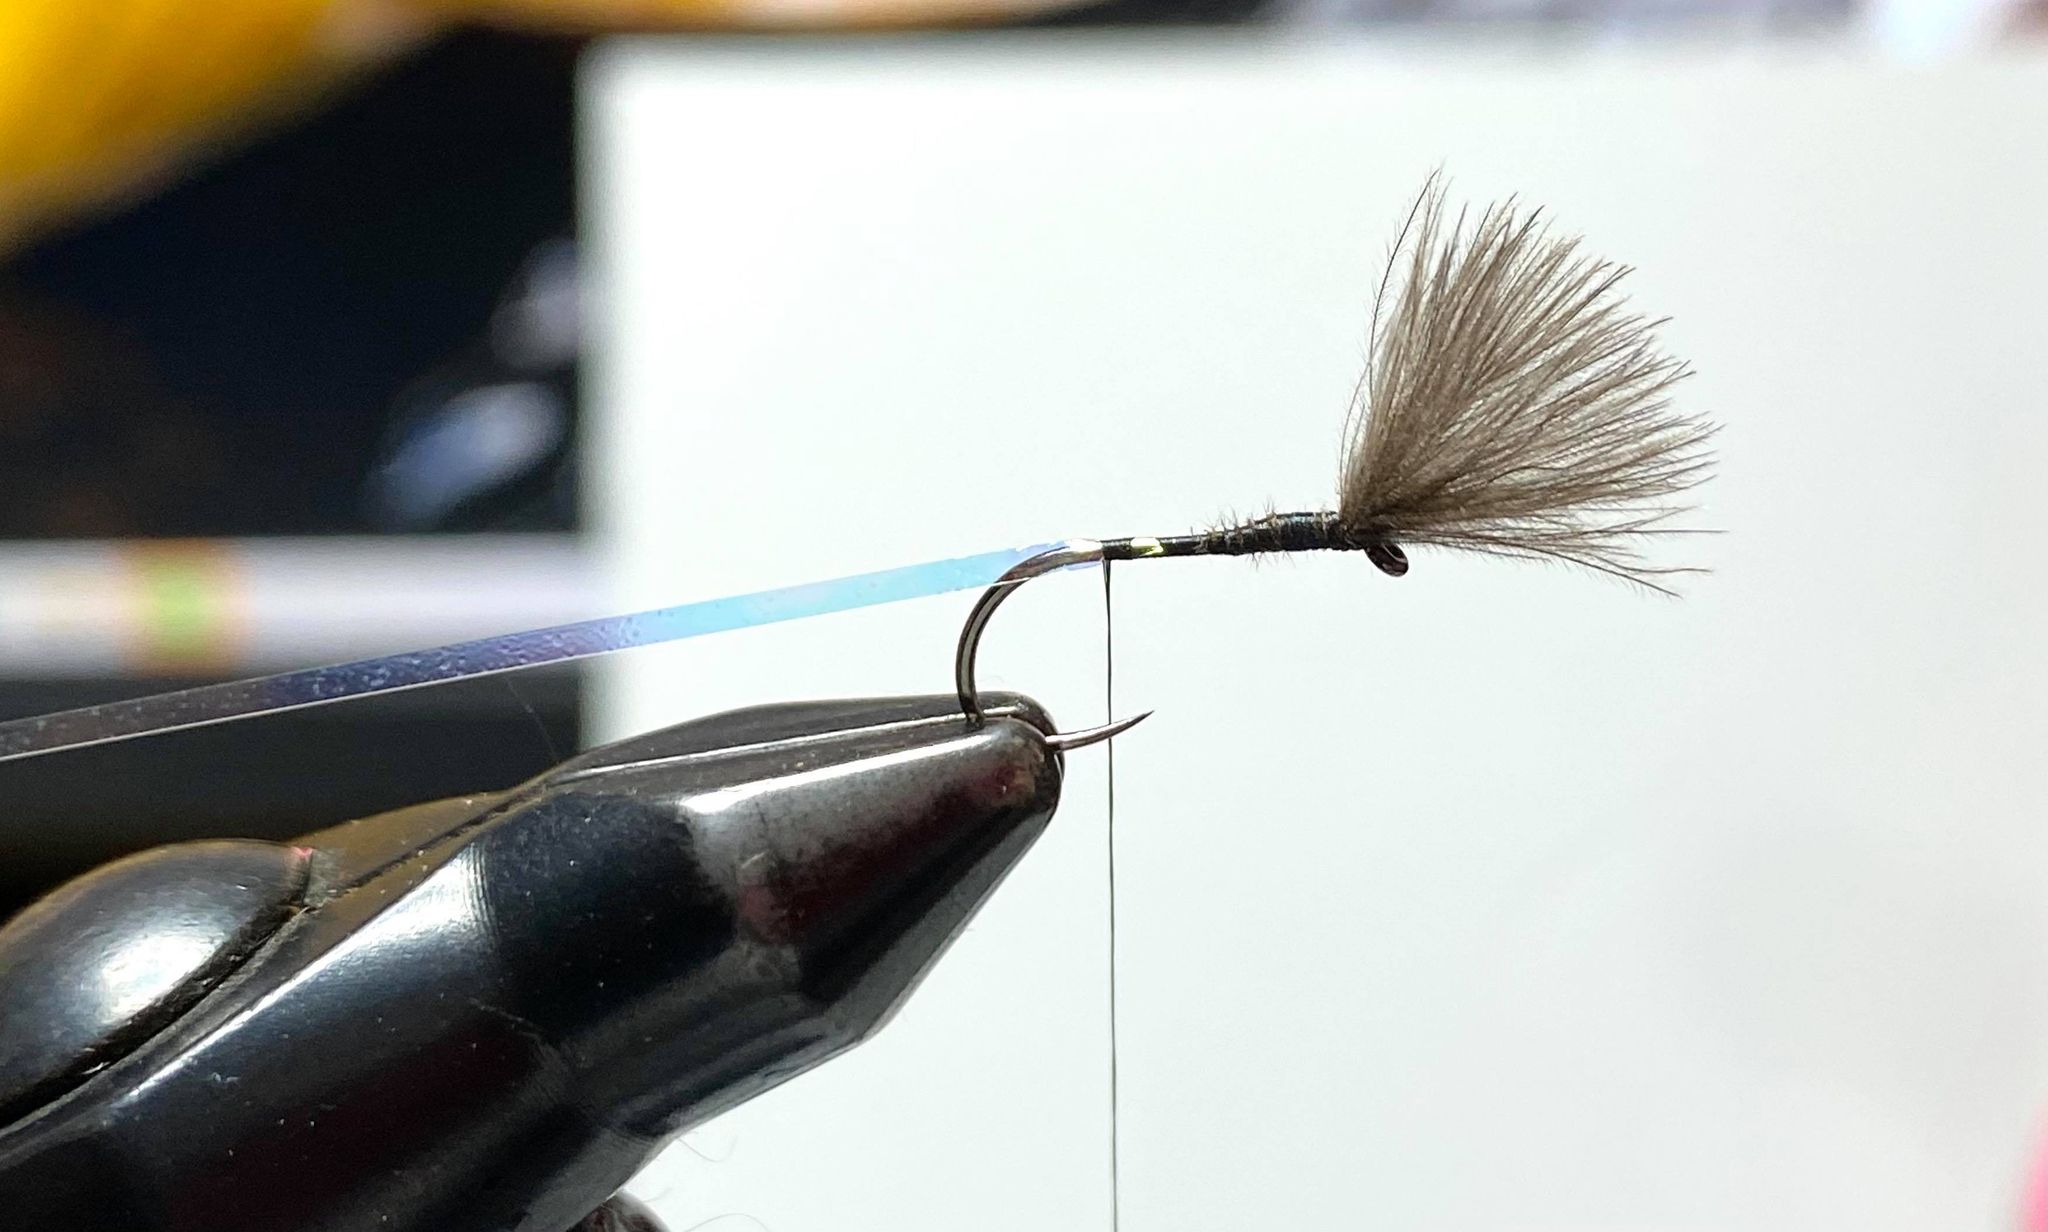
This weeks fly tying step by step is a Pearly Butt dry fly. It’s a fly that is super easy to tie. I generally fish this fly to represent all manner of upwing dry flies when out fishing the river for trout. However, it’s also a fly I’ve had tremendous days fishing in the colder months for grayling.
The Pearly Butt dry fly can be added to many different fly patterns such as the F Fly or the Waterhen Bloa. With the pearly butt added, it’s not only a glimmer of attraction to fish but it also represents a part of the shuck which is on real flies. More often than not, it fools them into taking the fly!
Here are the materials im using to tie this fly!
Hook – Fulling Mill Ultimate Dry size 14
Thread – Semperfli Nano Silk Black
Pearly Butt – Semperfli Flat Mirage Tinsel, Mirage
Body – Semperfli Kapok Dubbing, Sulphurea
Wing – 3 CDC Plumes
Below I’ve included the entire tying sequence. Enjoy!
Step 1
Place the hook in the vice.

Step 2
Begin your thread at the eye taking it down just enough to create a bed of thread for the cdc to be tied on. Then trim away the waste piece of thread.

Step 3
Place the CDC plumes on your desk lying them on top of each other to marry the tips so they are all aligned.

Step 4
Catch in the CDC tips. A good way of measuring how long they should be is bending the tips behind and ensuring they are around the same length of the hook shank. Once you’re happy with the length trim away the waste pieces.
*TOP TIP* to get a perfect tapered body for the fly, trim away the waste buts of CDC at an angle, coming in with your scissors over the top of the CDC wing


Step 5
Cover the buts of the CDC with your tying thread and take the thread down the shank until you’re above where the hook point is.

Step 6
Catch in a piece of mirage tinsel with a couple of tight turns.

Step 7
Wrap the tinsel around the hook just going past the bend. Then, wind it back up and secure it where you tied in it. This is creating your butt section of the fly!

Step 8
Take your dubbing and create a dubbing rope on your thread to make the body.


Step 9
Wind the dubbing rope up towards the wing to make tour nice tapered body. I sometimes like to go in with a brush to make the fly look a little more “buggy” make a whip finish and add a dab of varnish to finish the fly.


I hope you have enjoyed this step by step and it inspires someone out there to pick up the tying stuff and tie some up! It certainly is a fly that I’ve caught many fish on, and I can’t recommend it enough.
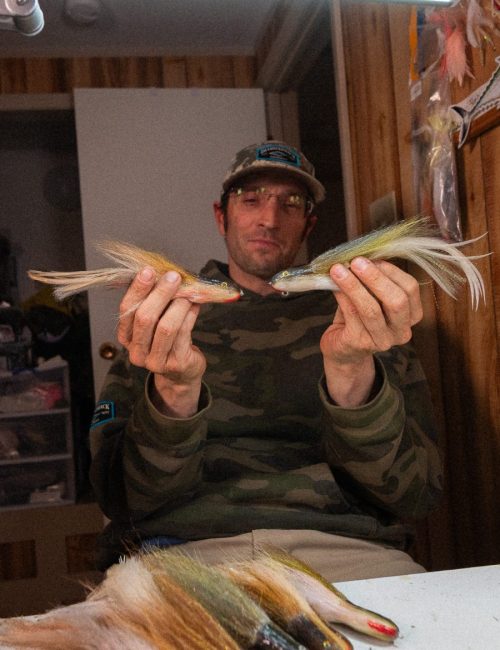
Before i sign off id like to share a couple of fish I caught over the weekend on my first trip down to my local river in weeks! While the fishing was tough and the river was still carrying a little more water than usual, I had a cracking session. The key to catching them was getting your flies right on the deck. I wrapped up my short trip with this fine grayling as a reward of my efforts on a cold foggy day fishing!


To learn more from Phillippa, check out some of her recent pieces on our blog!


)